Copyright © 2021 Kunshan Yuhuan Package Materials Co., Ltd. All rights reserved.

17 years industrial
tape manufacturer
- 86 0512-50336235
- lulu@suzmc.com
- Sitemap
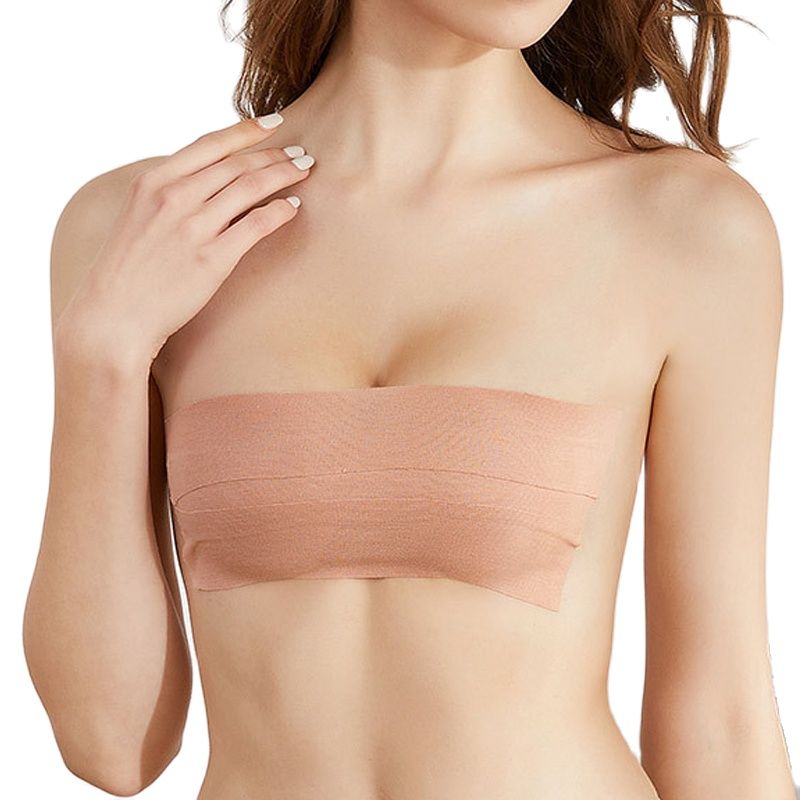
BOOB Tape has many uses, the first use is to replace the use of bras, Designed for comfort, confidence and security, so you can look and feel your own best.
In addition boob tape can help us lift our breasts, making them look rounder and have a better shape, boosting our confidence and making us feel better.
✔️Feel sexy, secure and confident in any outfit.
✔️Fits all breast sizes, A-G (DDDD) cups.
✔️Waterproof and sweatproof.
✔️Guaranteed to last up to 12 hours.
✔️Everything you need for the ultimate lift and support.
Our line of breast augmentation tapes are made from a blend of 95% cotton and 5% spandex. This tape is elastic and sticky, allowing you to easily position your breasts where you want them to be. We use a medical grade acrylic adhesive that is hypoallergenic and latex free, so you can use it safely on your skin. The glue part is designed with water ripples to mimic human fingerprints, is breathable and waterproof, and is easier to remove the tape from our skin when we do so, and will not cause damage to your skin when held for long periods of time.
Although our products are medical grade and have CE testing certificates, if you have allergy prone skin, we always recommend testing on your skin 12 hours prior to your first use.
Here's what you can do: Cut a two-inch square piece of tape, stick it to your chest/breasts and let it sit for 8 hours (remember that chest skin is different from the rest of your body!). .
If the test results are OK, you can use the tape without any problems.
Using boob tape can enhance our breasts and make our body look better, designed for comfort, confidence and security, so you can look and feel your own best.
Not difficult! Like most skills, it takes time to really master the art of breast taping. But it's not hard to learn!
When we decide to use boob tape, we need to perform a safety test on our skin ahead of time to prevent any adverse reactions during the application process.
Cut a two-inch square piece of tape, stick it on your chest/breasts and let it stay for about 8 hours to record and compare the skin on your chest with the rest of your body. Once the test is complete you are ready to use the breast tape.
This is very important! Skin that is not clean and dry will be oily and will prevent the adhesive from adhering properly. Make sure your skin is free of any of the following:
Lotions and oils (including moisturizing soaps and body washes that leave lotions on the skin)
Powders, concealers or any makeup products
Perfume or deodorant
Sweat
Sunscreen
Cut a strip of breast beauty tape that will go from the bottom of your breast to your shoulder or collar bone. You will need 2-3 strips of tape per breast. Remember, larger breasts require more tape to support heavier loads. Inadequate shaping can lead to irritating or unattractive shaping
Slowly peel the liner off the tape, making sure it does not touch yourself or your hands too much. Remember this is a single use product and once the tape touches something, it will not stick again.
With one hand, lift your breasts to the height you want them to be and with the other hand, apply the breast tape to the bottom of your breasts, forming an "anchor". Gently but firmly slide your hand over the tape until you reach the base of your nipple.
Once the tape is secure, you can pull it up and stick it to your chest, leaving your breast in place.
Do not apply too much tension to the tape when you pull it up. Too much tension on the tape can cause the bandage to pull too much on the skin and cause irritation.
Smooth out any wrinkles and remember that once it touches the skin, it won't stick anymore.
Activate the tape by rubbing the adhesive of the breast implant tape and carefully trim any excess. Make sure not to lift the tape too much, as you will not be able to reattach it to your skin.
Apply coconut oil to the breast tape until it is completely saturated. Allow the tape to soak in the oil for 15 minutes. This will help break down and loosen the adhesive.
Rub the edges of the tape and slowly pull up a small corner at the bottom of your breasts.
Support your breasts just above the corner of the tape you are pulling up. With your other hand, pull the tape toward you (do not pull perpendicular to your skin or at a 90 degree angle as this can cause irritation or injury.
Slowly remove the tape, rubbing more oil under the tape as needed. Do not peel the tape off.
However, as with most trends, it can be difficult to sift through what materials are really good and what will give you the best results on your breasts. If you have skin sensitivities, for example, look for labels that are latex-free and hypoallergenic.
Breast patch tape and breast patch are good partners because our nipples are very sensitive and putting tape directly on them can be uncomfortable, we recommend you use breast patch before you start applying it as an extra precaution for sensitive nipples.
Contact: lulu Email:lulu@yhtape.com

The Difference Between Fiberglass Tape And Fiberglass Self-Adhesive Tape
The Difference Between Fiberglass Tape And Fiberglass Self-Adhesive Tape